Showing posts with label nail. Show all posts

Saturday, September 8, 2012

Mani of the week: Oktoberfest!

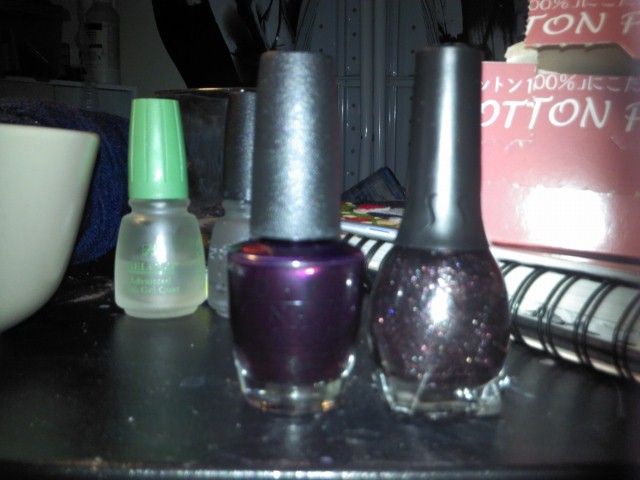
I did a little shopping today and I caved and got OPI It's always Oktoberfest In the Germany collection. I mean...I'm German so I have to get at least one right?
Right!
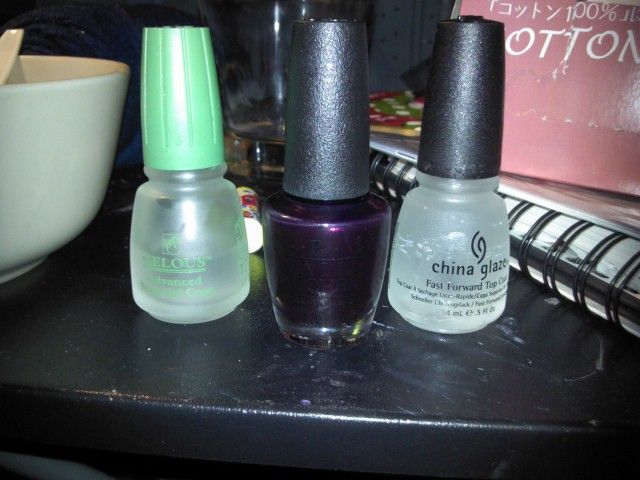
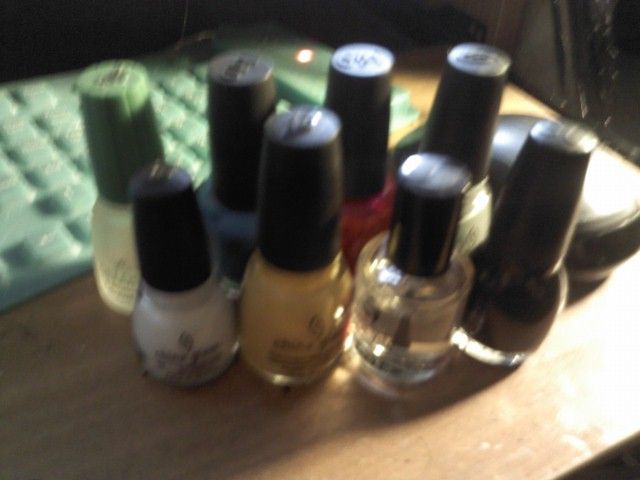
So Basecoat, Color and I bought another bottle of China Glaze Fast Forward top coat. Still my favorite fast drying for regular ol' nails. NOT NAIL ART it smears!
On my nails:
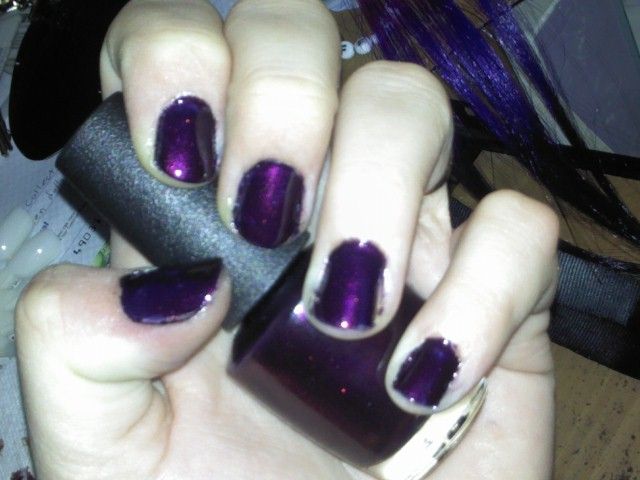
it is such a beauteous purple I adore it!.... but its more red in artificial light. 
I also got a new Venique and OPI Matte envy. 
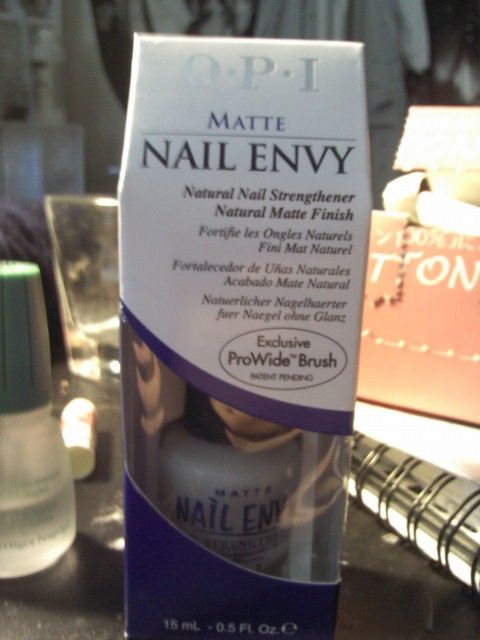
It works very well and I hope to do some neat Matte art with it. I read reviews that it has formaldehyde in it so left too long on your natural nail and it will stain yellow. The Venique is Deviant Little sneaker and is a sheer black with Glitter. SO i'll probably wear it over another color. 
I need to remember to get more gelous soon toooo <3
I also bought some more sinful colors and found a good color close to Lumpy Space Princess. Its called Amethyst and it looks like a cheap match to my OPI Planks a lot Which is fabulous! I hope to find more cheap versions of my Adventure Time Nail colors for people on a budget. (I mean good close colors)
I also got the lovely blue called Savage.
And some more nail wheels! Lets see what designs I can cook up!
See you next time! 

Sunday, September 2, 2012

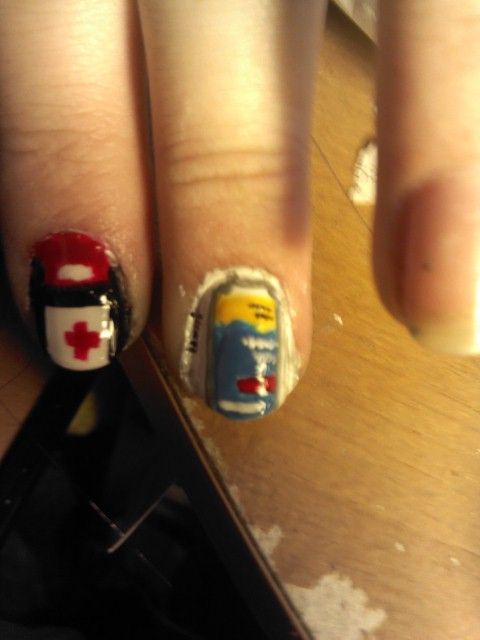
Tutorial! Left 4 Dead Med pack nail! Bonus! Peelz!


So if you know me at all you'd know that Left 4 Dead/2 is my favorite game ever. period.
There are close runner ups (fallout, Bioshock, Star Wars) but I can play Left 4 Dead over and over. I buy all the DLC and have even cosplayed as a character :D
(image not mine)
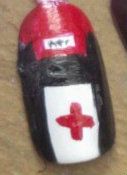
So the finished Nail on a Nail wheel:
No top coat just the design.

So lets get the tutorial started! 
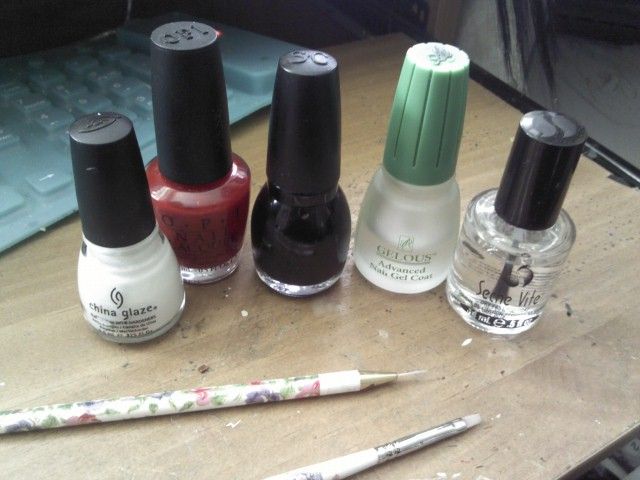
Heres what you will need:
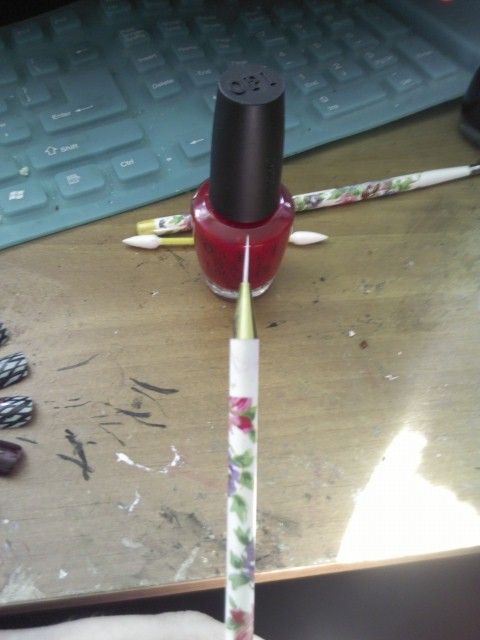
White , red, black, base coat, top coat and some nail art brushes!
I used a long detail brush on my nails and on the wheel I used a flat brush and detail.
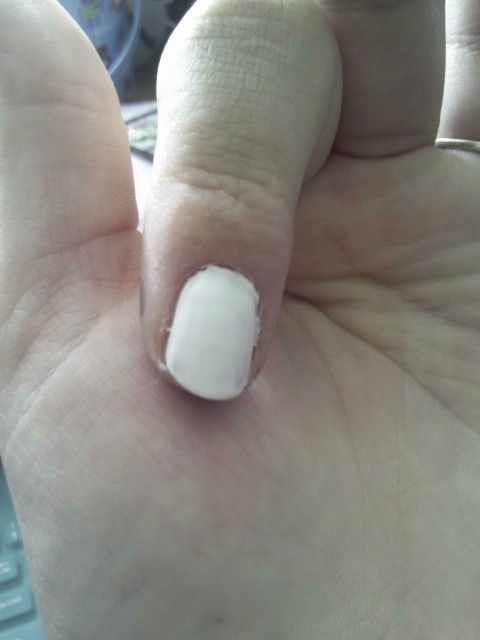
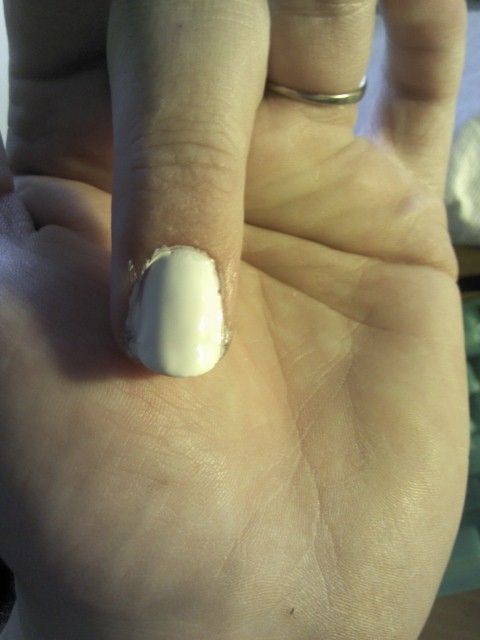
so after putting on a base coat, paint your nail white. 
I used China Glaze White on White 
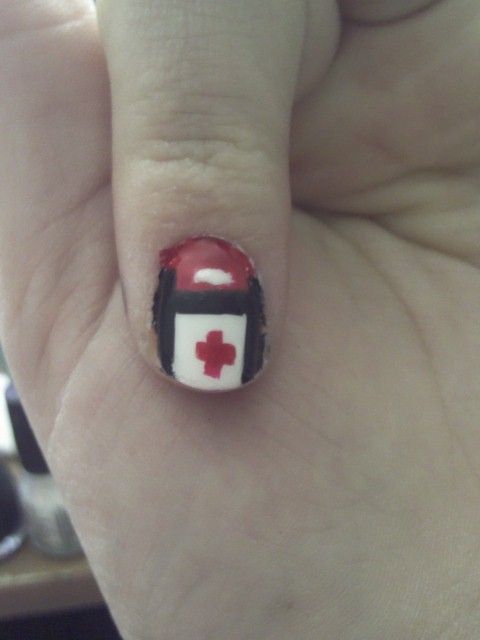
Then take the detailed brush with black polish and make three lines two vertical and one horizontal to simulate the zippers on the med pack
I used Sinful Colors Black on Black and I didn't line around the nail just as a straight line.
Then Taking the detailed brush make a red cross and fill the top in red except for a rectangle that you can add black marks to make it seem like it says first aid or leave blank. 
I used OPI Big Apple Red.
Then you can top coat which should even it out. 
I used Seche Vite which is the best for nail art. 

and thats it! Easy peasy!
you can clean around the nail with a cotton swab or nail tees
There's also the water trick/shower trick where if you soak you hand in water you can peel the excess off very easily. There is also the Vaseline/ lotion trick where you put that around your nails first but I don't like it to get on my brushes. 

Bonus Round!
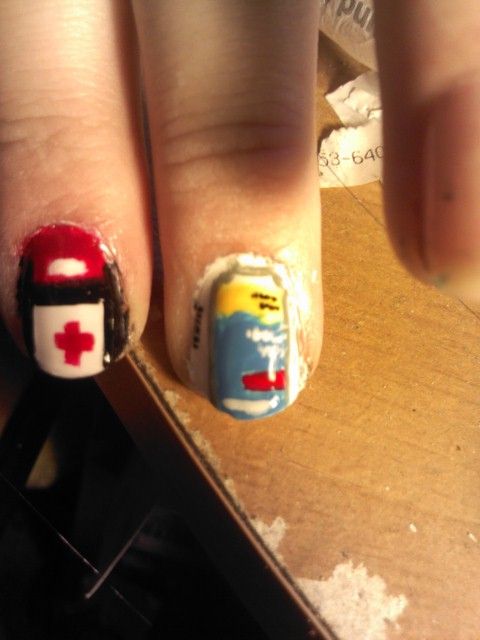
Peelz

(image not mine)

Nail Wheel Peelz

Tools!
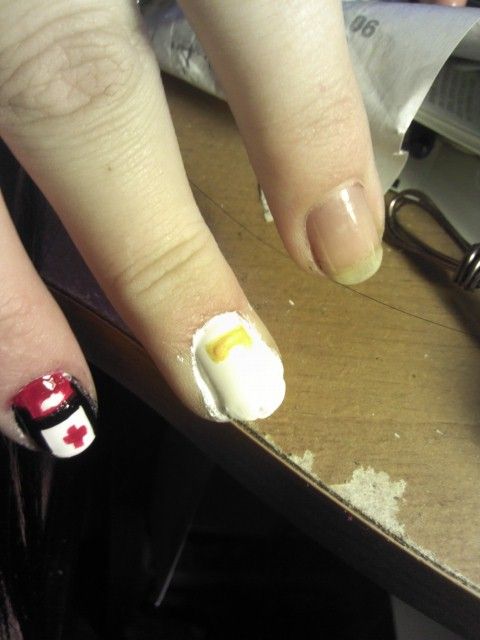
Base coat, white, yellow, blue, red, gray, black and top coat. Detail brush as well.

So after Base coat another coat of white
China Glaze White on white
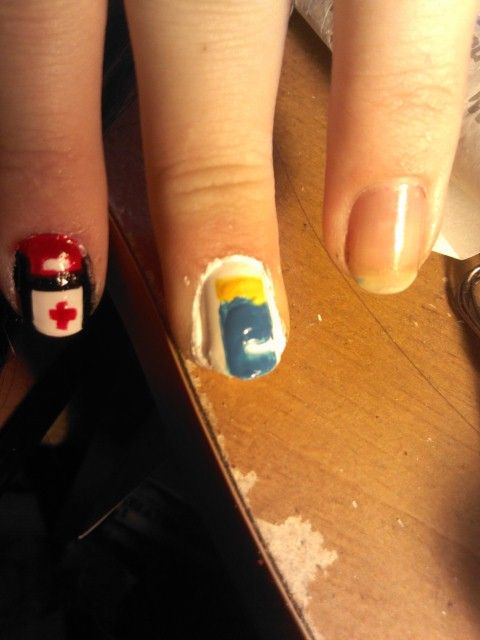
then the Yellow  in the shape of the yellow on the label. Kinda like a wave.
i also did it in a box ike a label instead of over the whole nail.
I used China Glaze Solar Power.
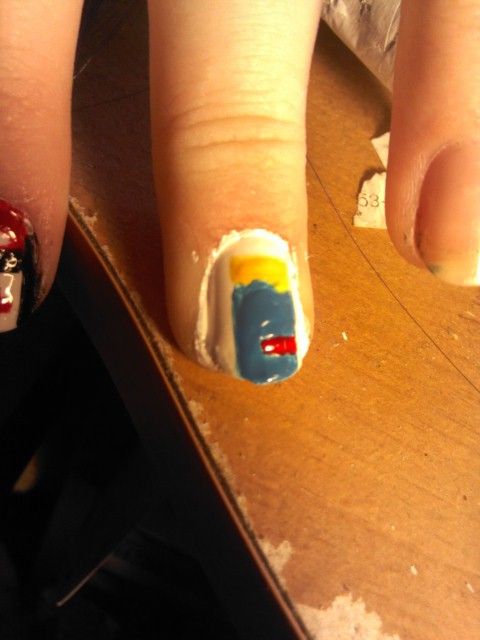
then Blue leaving a space for the red in the lablel.
I used OPI Ogre the Top blue
then fill in the red.
I used OPI Big apple red
Then i added a bit of gray for the label on the side, cant see it much but its like an "ingredients" list.
I used China Glaze Elephant Walk
and black on the other side for a barcode and some dotting on the yellow for words. Sinful colors black on black
Then white dotting on the blue label for words and the warning white line on the bottom.
Then top coat and clean up!
(Seche Vite)


Yes first Tutorials done! I hope to have more to come soon! 
xoxoxoxox
WNA


Wednesday, August 29, 2012

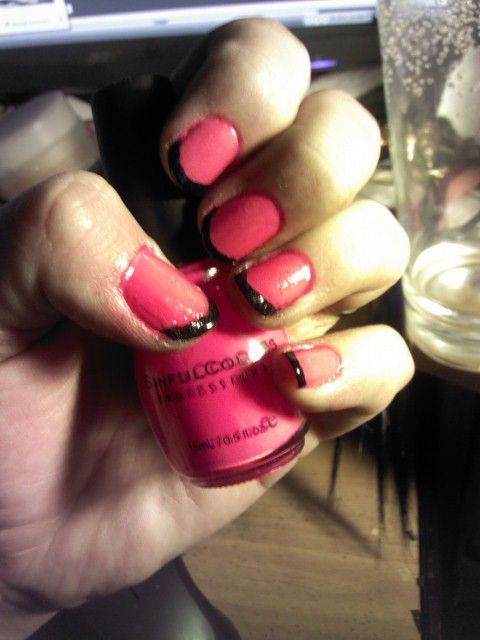
Pink Wednesday #2 Neon!


My second Pink Wednesday and Neons are coming in to fashion again so I did my Sinful colors Pink, which is very neon-ific. I need multiple colors so i did a black french tip. I had used Pumpkin glow in the dark pink over it from Halloween but it doesn't glow :( I'm hoping its just old and not a rip off.

I used Gelous Base Coat, Sinful Colors Pink, Pumpkin Glow in the Dark Pink , Sinful Colors Black on Black and Sally Hansen Strengthening Top Coat. 

Yes two weeks in a row! I'm getting better at my blogging or maybe just getting less lazy about it.

xoxoxoxox
~WNA~

Next:
A review on Cucumber Peel mask!


Wednesday, August 22, 2012

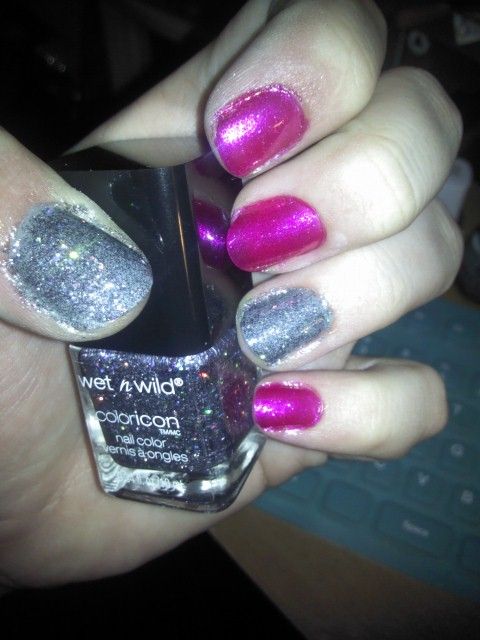
Pink Wednesday numero uno!

Finally painted my nails, I was disheartened when my nail broke pretty far down so i didn't feel like painting them for a while. Then they got worse and it kicked my butt into gear,and being (now) Wednesday, I did my  first pink Wednesday!
I love doing multiple colors so grey and pink seemed perfect, i used Wet N Wild Coloricon Diamond in the Rough, it was sheer so I used China Glaze elephant walk underneath. The Pink is L'oreal Paris Pink shells 222. it took about two coats and it's very pretty. 
I'm soon to be trying homemade recipes on health and beauty supplies and giving the rundown.
Pinterest is my new best friend. My fiance bought me mason jars and i'm excited to make remedies to store in them. Seriously Mason Jars are the best thing ever. Storage, cups, DIY crafts lights whatever you fancy!
All right reviews to come! 
stay  frosty. 

Monday, August 13, 2012

Mani: Silver and Gold

In celebration of the Olympics FINALLY ending (while the Olympics are great and I love that USA won) I find it incredibly boring to watch, usually because Basketball was on, but finally we are free and can celebrate victory!
So OPI Warm and Fozzie 
OPI Skull and Glossbones with China Glaze Hologram over it. 
I actually kept my last mani for a while and got quite a few compliments on it,it made me happy and excited to tell people the wonders of a simple make up sponge. :3

Looking Forward: 
All I can say is I've seen swatches of the O.P.I. Skyfall collection and I can say I want them!
Live and Let die is beautiful and the world is not enough is a fab golden glitter apparently with a hint of duo-chrome :D

I look forward to being able to purchase the German collection as well, (being German myself and having been there I can say I was quite excited when I heard of it I'll be trying them out as soon as I can get some!)

On another note! I've created a blog for fitness! 
I have a lofty goal of 109 pounds total to happiness but we will see what I can actually do.
You can see it Here: 
also I made this the other day and wanted to share my #firstworldproblems


well that is what I have today, I'll be posting my reviews of some cheap masks I found at Wal-Mart soon!


Tuesday, August 7, 2012

Mani: Make Up sponges

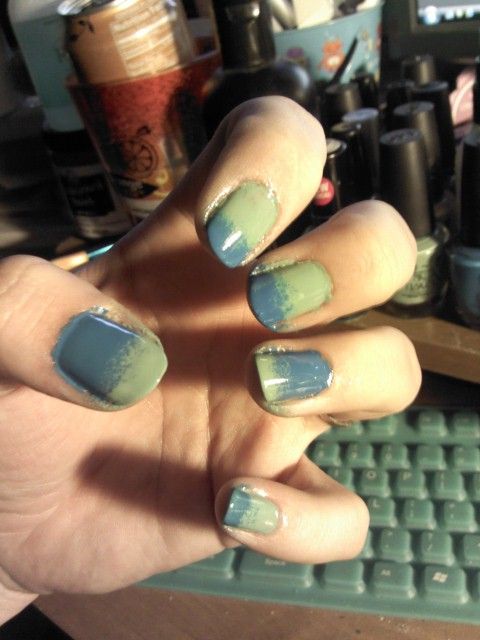
It is NOT cleaned up, but I was messing around thinking of what to do and I started messing with a make up sponge....and doing a french tip and I was like Yay! 
I saw a pretty dress in the green and blue colors and decided that was the color combo I wanted. 
OPI Mermaids Tears and Ogre the Top Blue were the closest I had to the colors.
Sponges are so much fun, they give such cool effects, speckles, fading and the like. 
I was thinking it would be great for blood splatter effects for Halloween or Dexter nails.
I had wanted m effect to be more....precise but I wasn't trying hard....
BUT! If you don't have make-up sponges I sincerely suggest you get some.
Great for make up, nail art arts, and crafts and whatever else I love having them.
Now, I used Seche Vite for a top coat and it spread the french tip coat and made some the specks go away which was sad so I'll have to experiment with dryness to top coat I guess.
I have been drawing designs and I will be putting them to nail when I get some Nail Wheels, I think my next Mani will be more Rave attire appropriate as I may be attending one Saturday. I guess. 
We will see.
Fare thee Well Readers.
Also One follower! Whoo hoo I'm hitting the big time
Thanks friend! :3

Sunday, August 5, 2012

Nail art Template

Original size. So I made this to print, just simple to draw in designs to put to nail wheels. I generally draw the nails out but I like a template much better. I put lines next to it to give titles or ideas/themes. I didn't really work on any designs yesterday so I think I will today. After a vigorous search for my iPod again ....
It fits on the paper in MS Paint at 80% of original size 
even though the canvas was supposed to be 8.5x11in but maybe I'll scan in the designs next to the nail wheels so we can see the process , its also good to see if I ever improve. 
So please save and try it out for yourself! If you can improve lemme know and see the new template!


Tuesday, July 24, 2012

love letters

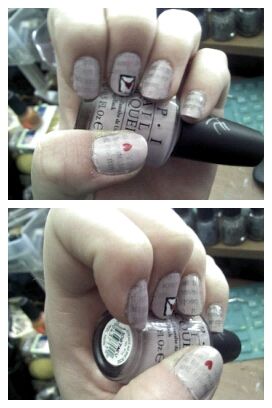
So I was super excited to try the Newspaper print nails when I had found we had some newspaper around, so I got my rubbing alcohol and set to try it out with the Cute Polish youtube tut.
dip finger in rubbing alcohol for about 5 seconds, place newsprint face down like a temporary tattoo on your nails for about 15-20 seconds too long and the paper sticks too soon and it's very light which is a nice look too. I think faded is a cool look. But even if you get paper on it clear coats cover it up but you need two or 3 since the paper bumps through a bit.
I used
Gelous Basecoat
 OPI Steady as She Rose
New York Times Newspaper
OPI Big Apple Red
China Glaze White on white for my horrible letter xD
Sinful Colors Black on Black
China Glaze fast Drying top coat

I loved my tiny uber hearts and my roommate took to doing it on her nails too. 
(Shes trying not to have terrible,bitten onychophagy nails any longer, looks so unprofessional )

I think my next designs will revolve around video games and maybe some cute summer themes.
I really want to do strawberries >w<

Ta ta for now!

Sunday, July 8, 2012

Adventure Time!!!


Finn Nails! 
OPI Ogre The Top Blue
China Glaze White on White
Sinful Colors Black
and my own nail plate for his skin

How to:
Make sure you use a base coat!
I use Gelous, which is pretty quick drying
and my go to.
Then Paint White until Opaque!
Mine took about two coats.
I then used the blue as a sky but also as a reference
to his outfit and painted above with two ear shapes
for his hat, about two applications using a detail nail
art brush. 
I then took a cotton swab and dipped it in acetone
and made a oval for his face (since I didn't have that color
and my skin is the same it looks great!)
Then I took black and used the nail art brush but a dotting
tool would be better and made two eyes! waited for it to
dry and used China Glaze fast drying Top Coat.
I apparently did it too soon and it smeared a little so do it
carefully and make sure its completely dry!


Lumpy Space Princess Nails
OPI Planks a lot
China Glaze Champagne Bubbles
Sinful Colors Black

So Basecoat Gelous
then Planks a lot on the 4 nails and champagne bubbles for the accent nail
its also used for the star on LSP's forehead.
We found a face of lsp's she liked and I painted it on with a detail brush
and used the brush for the star on her forehead (as best I could i'm terrible at Stars)
The Planks took about 2 coats and the Bubbles about 3.
Used China Glaze fast drying Coat and we're set!

Thanks for looking! I will be doing Beemo and Ice King next I think!