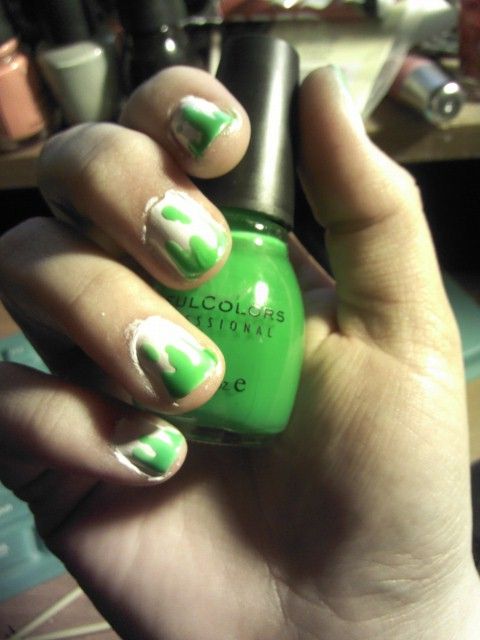
So if you know me at all you'd know that Left 4 Dead/2 is my favorite game ever. period.
There are close runner ups (fallout, Bioshock, Star Wars) but I can play Left 4 Dead over and over. I buy all the DLC and have even cosplayed as a character :D
(image not mine)
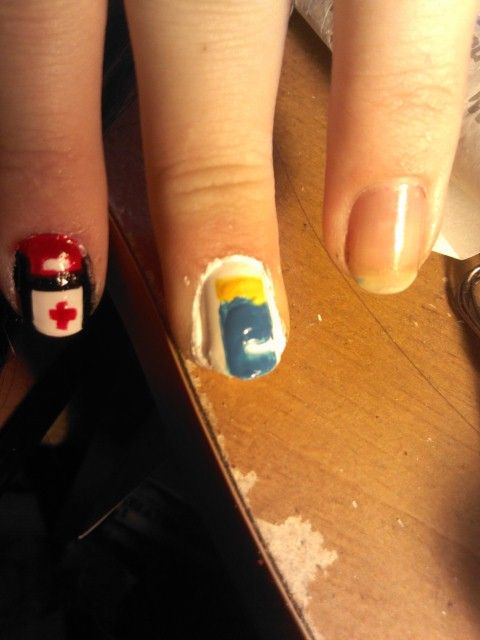
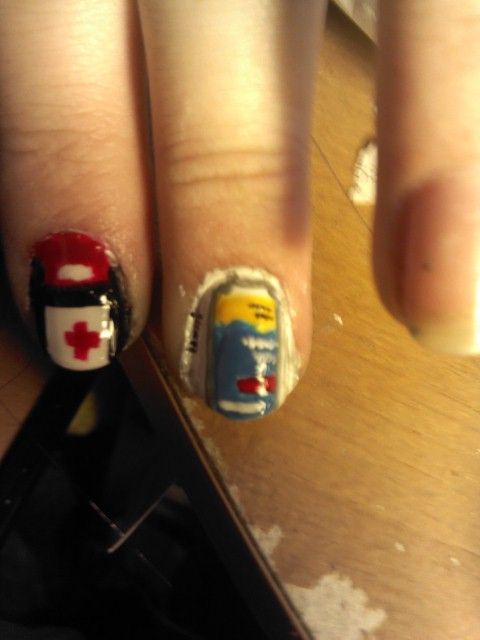
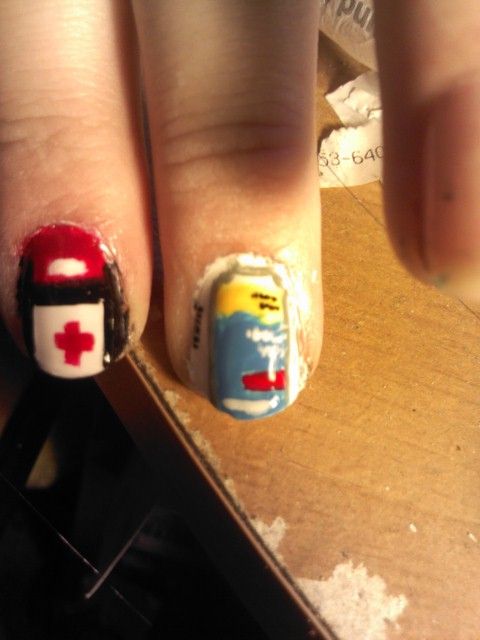
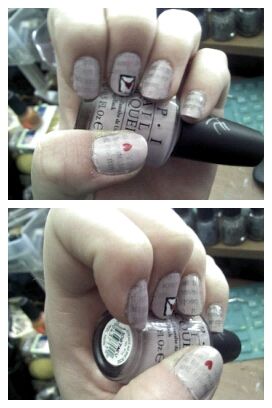
So the finished Nail on a Nail wheel:
No top coat just the design.
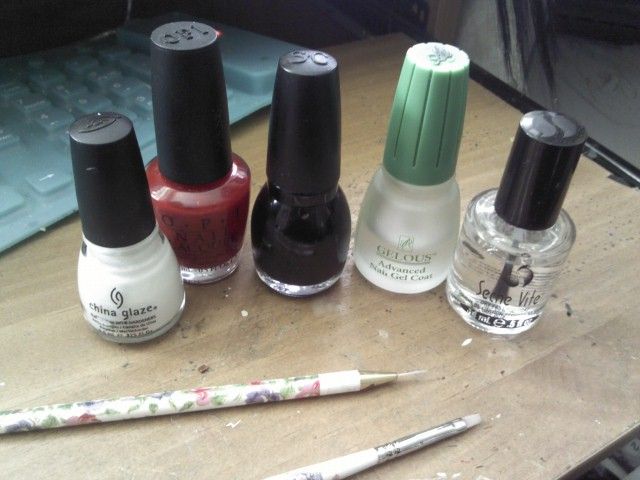
So lets get the tutorial started!
Heres what you will need:
White , red, black, base coat, top coat and some nail art brushes!
I used a long detail brush on my nails and on the wheel I used a flat brush and detail.
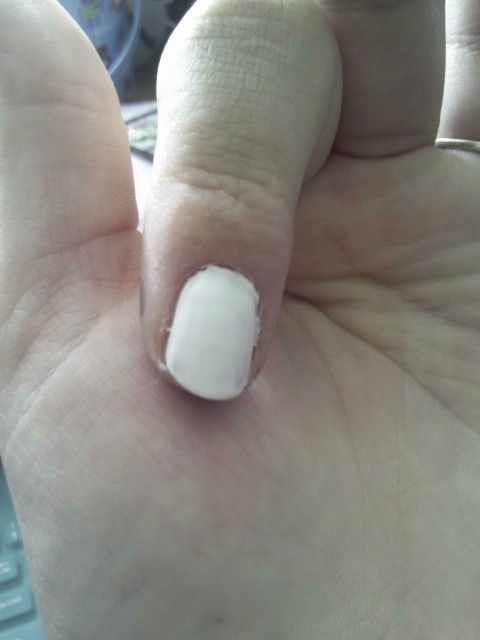
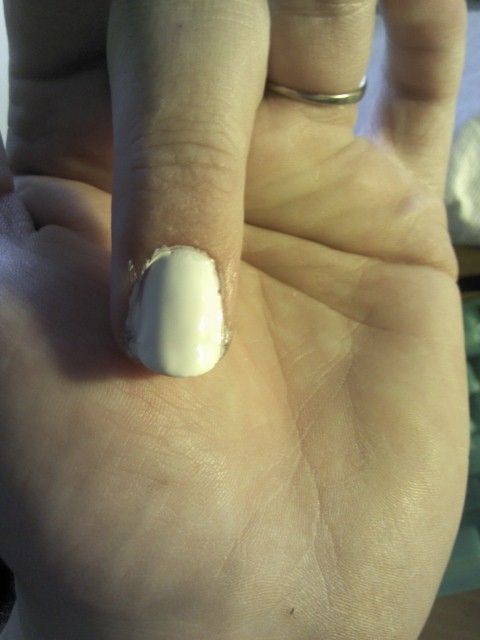
so after putting on a base coat, paint your nail white.
I used China Glaze White on White
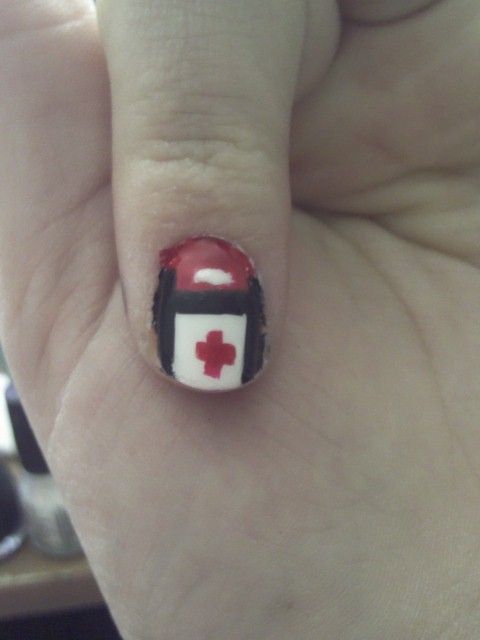
Then take the detailed brush with black polish and make three lines two vertical and one horizontal to simulate the zippers on the med pack
I used Sinful Colors Black on Black and I didn't line around the nail just as a straight line.
Then Taking the detailed brush make a red cross and fill the top in red except for a rectangle that you can add black marks to make it seem like it says first aid or leave blank.
I used OPI Big Apple Red.


Then you can top coat which should even it out.
I used Seche Vite which is the best for nail art.
and thats it! Easy peasy!
you can clean around the nail with a cotton swab or
nail tees.
There's also the water trick/shower trick where if you soak you hand in water you can peel the excess off very easily. There is also the Vaseline/ lotion trick where you put that around your nails first but I don't like it to get on my brushes.
Bonus Round!
Peelz
(image not mine)
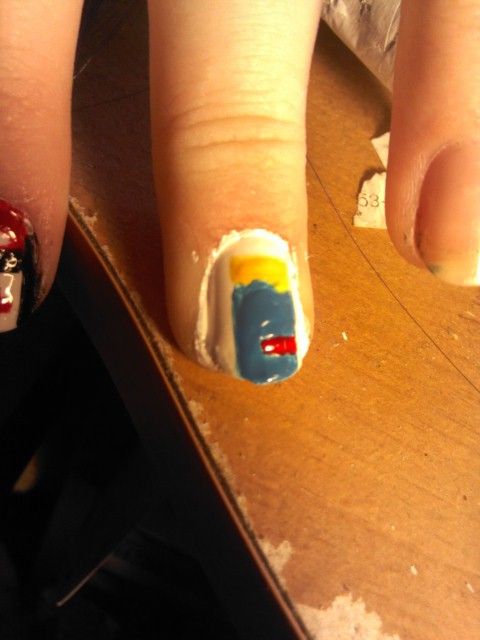
Nail Wheel Peelz
Tools!
Base coat, white, yellow, blue, red, gray, black and top coat. Detail brush as well.
So after Base coat another coat of white
China Glaze White on white
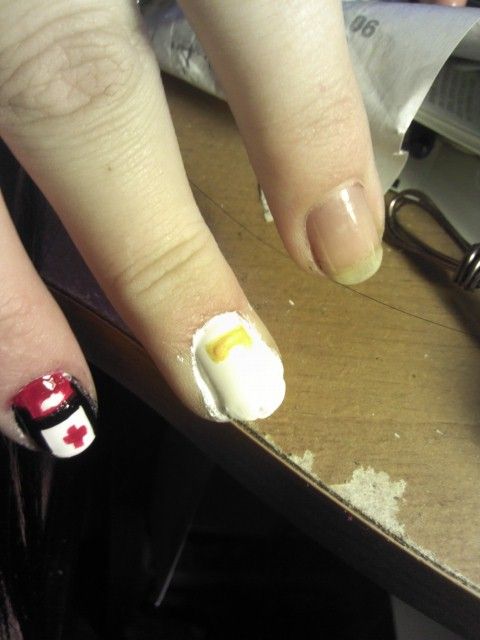
then the Yellow in the shape of the yellow on the label. Kinda like a wave.
i also did it in a box ike a label instead of over the whole nail.
I used China Glaze Solar Power.
then Blue leaving a space for the red in the lablel.
I used OPI Ogre the Top blue
then fill in the red.
I used OPI Big apple red
Then i added a bit of gray for the label on the side, cant see it much but its like an "ingredients" list.
I used China Glaze Elephant Walk
and black on the other side for a barcode and some dotting on the yellow for words. Sinful colors black on black
Then white dotting on the blue label for words and the warning white line on the bottom.
Then top coat and clean up!
(Seche Vite)
Yes first Tutorials done! I hope to have more to come soon!
xoxoxoxox
WNA